It is one thing to open your computer application, hit record, and sing/talk to it. It is another thing to connect an instrument to your computer then record what you play. The importance of recording can’t be overrated. You would want to listen to what you played to correct some things you missed, or you might want to have it so you can share it with your friends. Others might call their recordings a demo. But for whatever reason it is, you definitely might need to tape your tune.
In addition, we advise you to use good speakers to play your demos, for example, here you can see a selection of the best DJ speakers. However, many people might not know how to record the keyboard on audacity USB. It is the most commonly used recording software and also the most trusted. In this article, we would be providing a step-by-step guide on how you can connect Audacity USB to your computer and record your instrument on it. We have also added a few notes about Audacity to give you background knowledge about the application and its abilities.
Though there are several recording software available on the market for users, Audacity is still the most used one. It is widely used by musicians, podcasters, narrators, scientists, and Foley artists to record, edit, and share an audio track. The application uses the computer’s microphone to catch the sound waves and then interprets them to the computer application. It is easy to use, and users with different operating systems (Windows, Apple/Mac, Linux, etc.) can record with it.
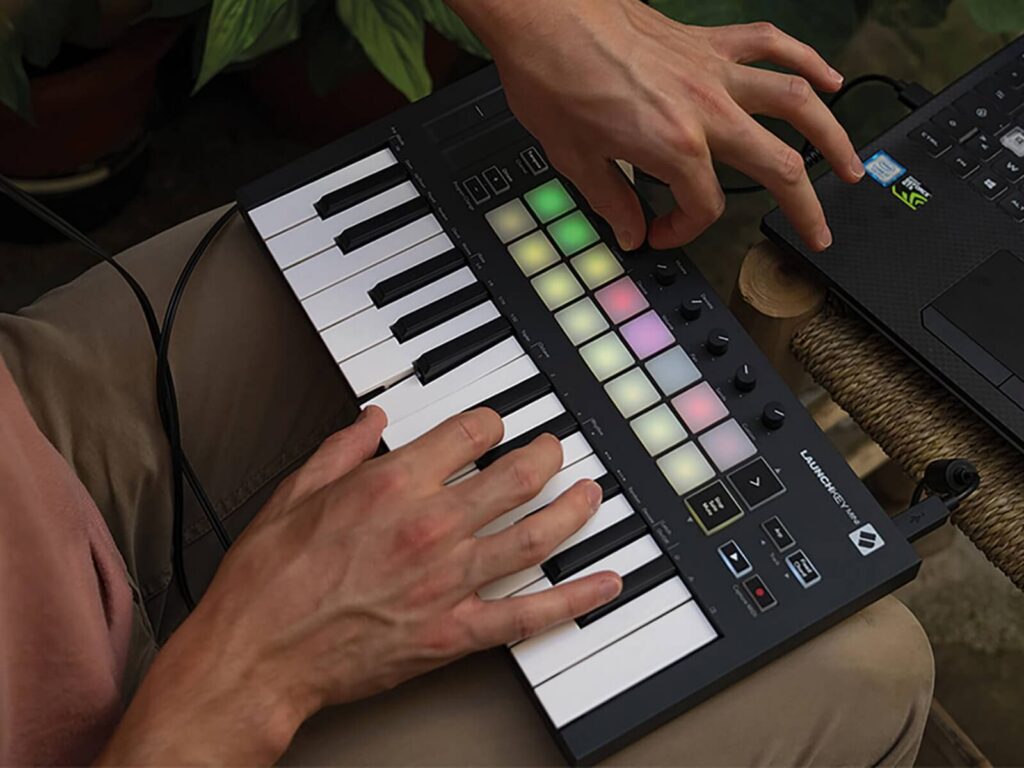
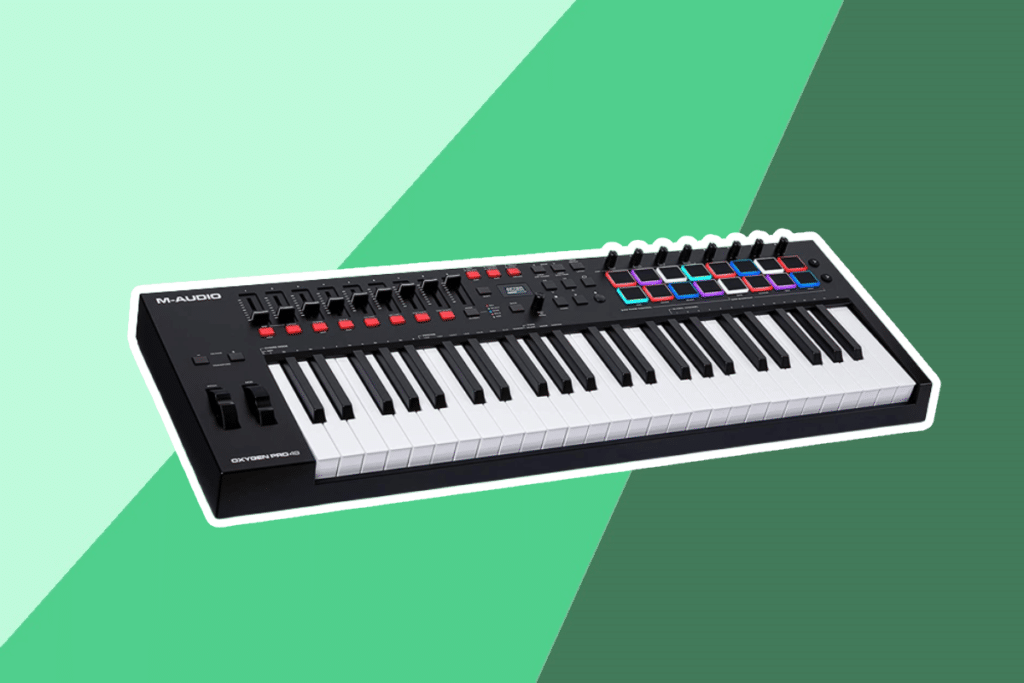
The Audacity was released to the public first in May 2020 and has been updated regularly since then. It is open-source software, and so users don’t have to worry about accessing a key to use the software. Instruments can also be recorded on the application using its Audacity USB feature. This feature immediately became very widely used. For example, a mini-midi keyboard user can easily record music to the computer system during song compose, using the USB format.
The Audacity USB differentiates the method through which a track is recorded to the computer, that is, either through a microphone or the use of a Universal Serial Bus (USB) port.
The creators of Audacity made sure the application comes with several unique features. This means users can perform different functions within the software until the track sounds perfect. Some of the main features of Audacity include:
This is the most commonly known feature of the application. It was developed majorly to record sounds from the microphone of the computer. It can also use a mixer to record live audio into the PC. Similarly, one can share digitized recordings from different media into the application for tweaking.
Several options help to make the recordings easier. They include the device toolbar that manages playback devices and recordings from multiple sources. And the level meters monitor the volume levels during, before, and after the process of recording.
Other additional features contribute to the recording ability of the application. They include; the ability to clip recordings, record the computer playback, use a timer record, or dub over pre-existing audio tracks. Recordings can be done at 192,000 Hz and could go as high as 384,000 Hz for high-resolution computers. Audacity can also permit the ability to record multiple channels all at the same time. Using this feature, you can record your keyboard for various purposes, including worship.
The application also allows for easy editing of pre-recorded audio tracks. The following actions available on the application for use include; delete, paste, copy, and cut. A user can also mix a file with another to create a tracklist. Mixing multiple clips is also permitted. While editing, a user can easily find the area to edit using the ‘scrubbing and seeking’ tool.
One can also undo their actions (or redo) in the case of any mistakes. Other features include the draw tool used to change sample points. Or the envelope tool used to smoothly fade the volume of the track (up or down). And the automatic crash recovery option, used in the case that the application suddenly closes abnormally.
Audacity also permits the modification of audio tracks to suit the user. Tones, rhythm, noise, silence, or instrumentals are all sounds easily generated using the application. The pitch can also be modified without changing the tempo (and vice versa). The application also permits the reduction of noise to remove hum, static, hiss, etc.
It allows the adjustment of volume with the following tools; Studio Fade Out, Compressor, Fade in/Out, Normalize, Crossfade Clips, Adjustable Fade, Amplify, and Crossfade Tracks. DJs and Podcasters can also create a voice-over using the Auto Duck tool. Frequencies can also be modified using either the Notch Filter tool, the High/Low-Pass tool, the Bass/Treble tool, or the Equalization effect. Other actions that can be done include filtering the audio frequency separation, echo, reverb, distortion, reverse, phaser, etc.
Audacity also permits the exporting and importing of audio files in the following formats: MP3, WAV, AU, FLAC, AIFF, and Ogg Vorbis. You can also export (or import) multiple files at once. The On-demand tool lets immediate access to editing after the importing of the AIFF and WAV files.
There are different types of keyboard, and sound is one of the things looked out for when picking a keyboard. Therefore, the quality of sound is an important feature of the application and for many users. Audacity supports the 32-bit, 24-bit, and 16-bit samples. However, the default setting is 32-bit. Sample formats can be converted on the software.
The creators of Audacity also allowed users to tweak other settings using the Quality preferences tool. Tracks that have a different sample rate from the default setting are usually converted automatically. Therefore, users might have to manually convert back to either the 24-bit or 16-bit sample format.
Using the keyboard, users can easily manipulate tracks and selections. And with the knowledge of shortcuts on the keyboard, users can access some options and tools. The files from Audacity are also easily accessible on other media such as the mobile phone, other computer musical applications, and by many websites.
Audacity is a support for the following effect plug-ins: Audio Unit, LADSPA, VST, Nyquist, and LV2. With Audacity, users are permitted to write their custom plug-in. They can also modify effects in a text editor. The effects that can be edited, however, must be written in the Nyquist programming language.
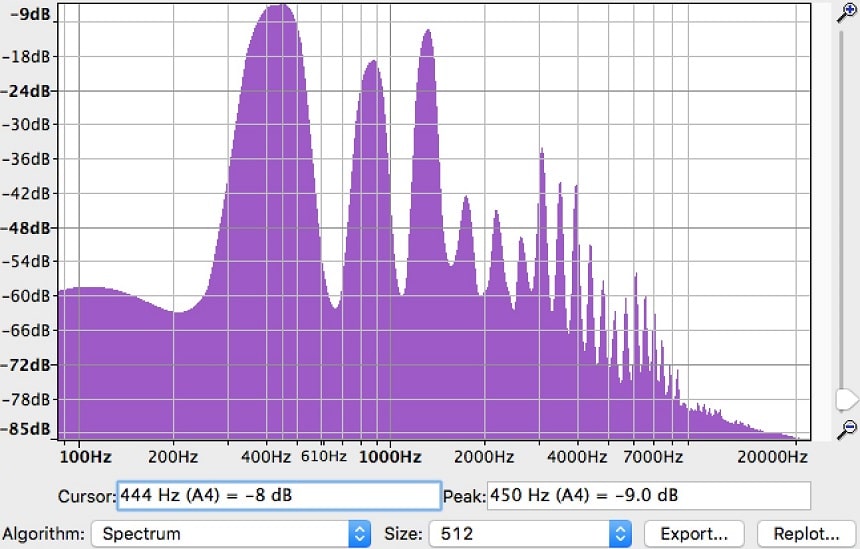
Audacity provides various tools and effects that can be used to analyze sounds and tunes that are being recorded. Some of them include the plot spectrum that is used when analyzing the frequency of the tune. The Sample Data Export tool allows for the exporting of each sample file on the application.
The same goes for the sample data import tool that is applicable during importing. The spectrogram view is for selecting and visualizing the tune frequencies. The contrast analysis is used to analyze the volume difference of the average RMS between the background music and the foreground voice.
All these are the features that Audacity offers to promote and assist a musician (and other types of artists) create the best track file.
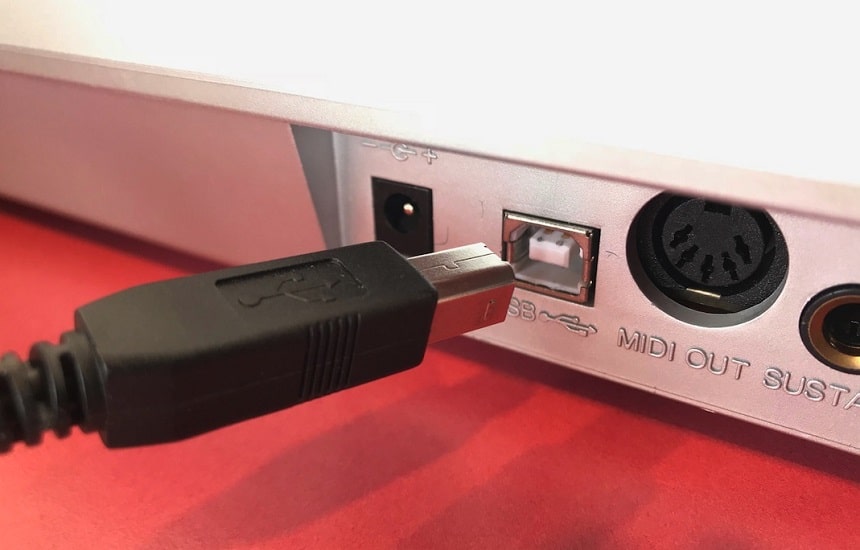
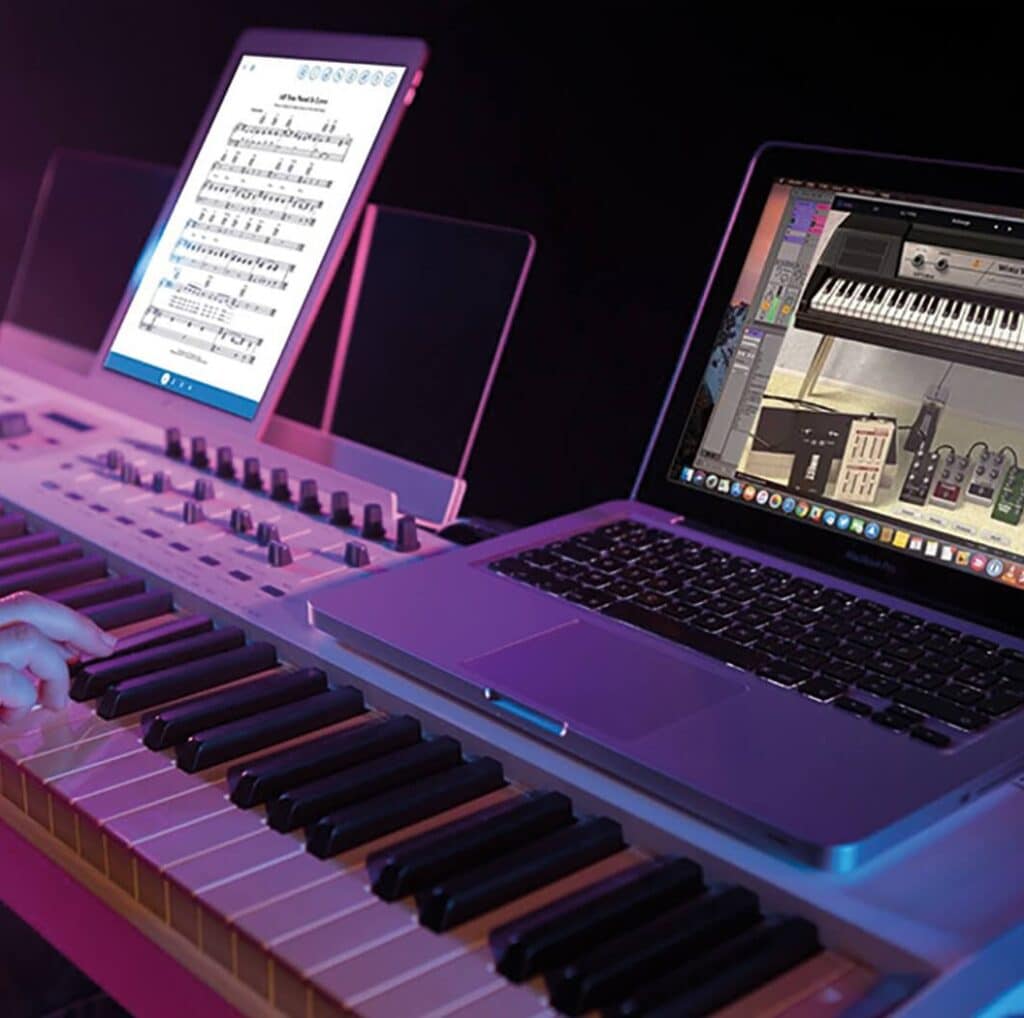
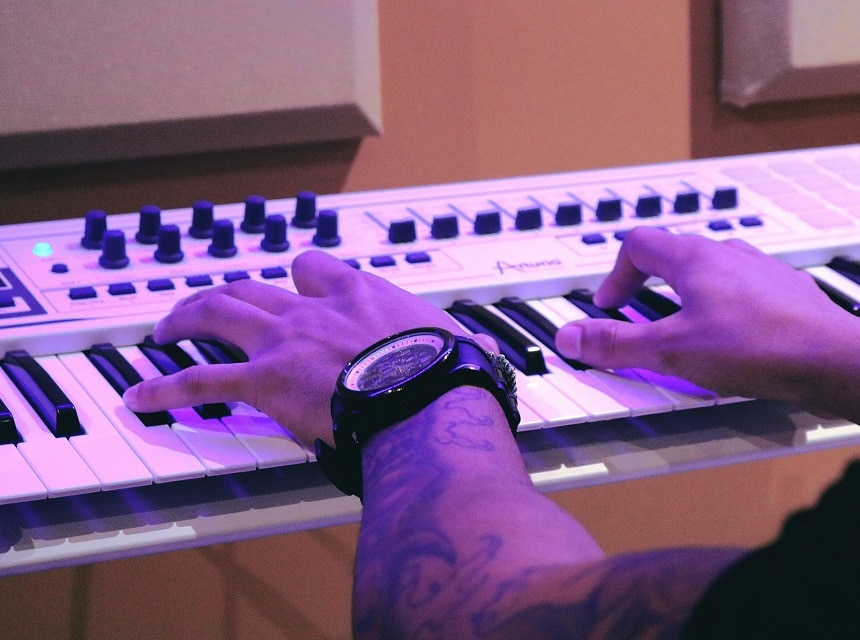
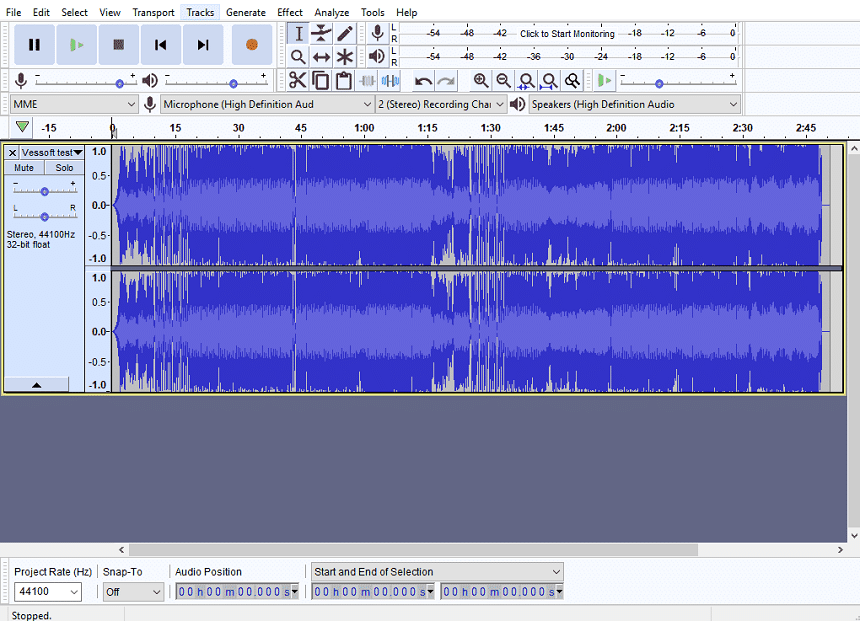
Connecting Audacity USB to your computer system is very easy. First, you would need to get a good USB cable that is in good working condition. This cable has to be an audio cable.
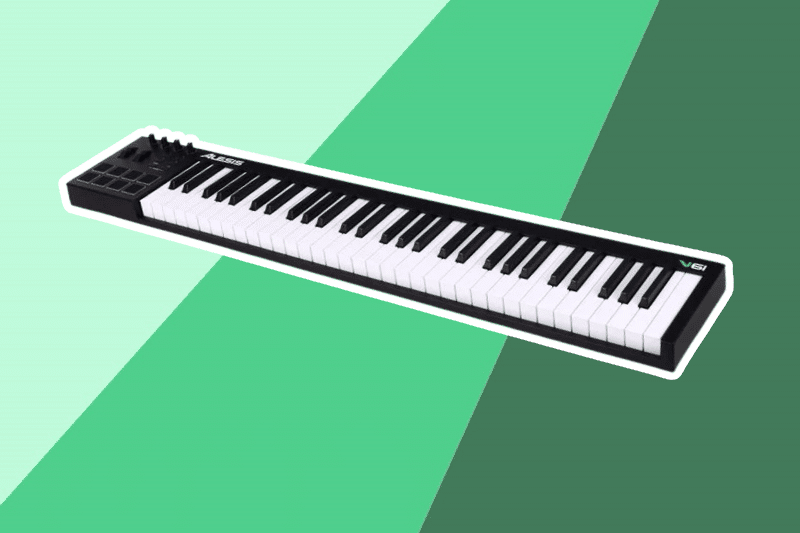
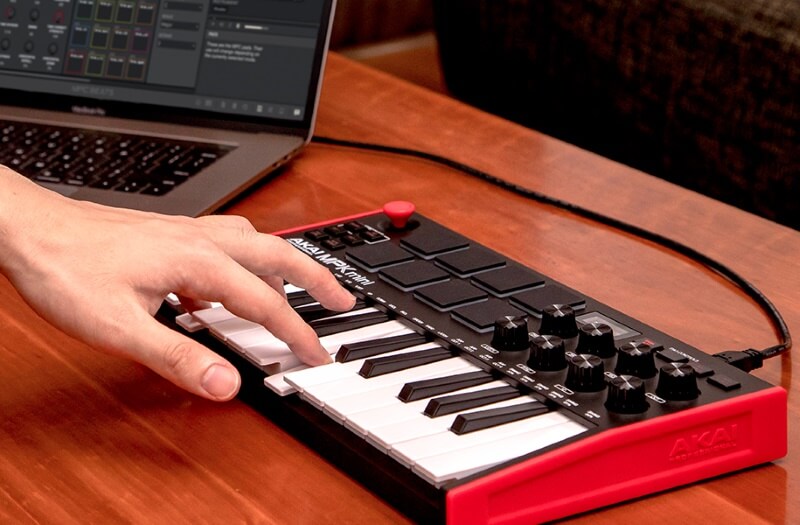
The next thing to do is connect one end of the cable to your computer and the other end to your keyboard. Any type of keyboard that has a USB port can be used. When the ends of the USB cable are connected to both devices, you can proceed to the next step.
Turn on your keyboard, and open the Audacity application on your computer. Immediately this is done, you can rest assured that your keyboard is connected successfully to your computer. However, to ensure that you would be able to listen to your recordings, follow the steps below:
If you don’t have the recording option on your keyboard, you might have to play the song/tune live on your keyboard. Then you can begin to record the song on the application. However, whichever way you decide to have your song recorded, Audacity USB has successfully been connected to your computer system.
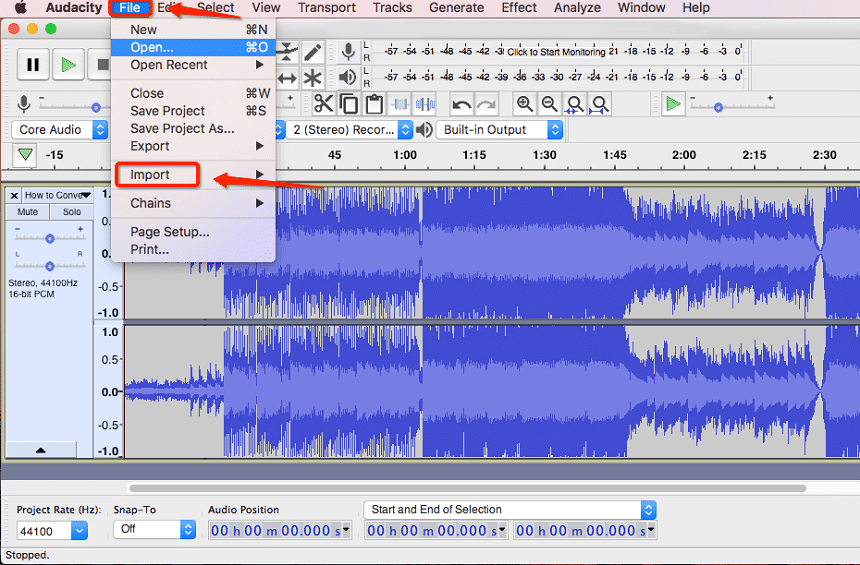
Below are the steps to follow in recording your song/tune from your keyboard to Audacity. All these steps are followed by first launching the application on your computer system and connecting it to the Audacity USB, as explained above.
A user can do several different things using Audacity. You can record Trusted Source 'My studio is an extra limb right now': bedroom pop, the perfect genre for lockdown | Music | The Guardian Billie Eilish, Girl in Red and others have clocked millions of streams from music made at home. Mac DeMarco, Ariel Pink and others explain why we need to embrace this lo-fi recording www.theguardian.com an audio playback and live audio, edit existing recordings, upload a previous recording/song, and many more. The application also allows for the export and import of files in various file formats. What’s more, you can add different effects to modify the original audio to the taste of the user. And all these features can be applied to a song recorded from your keyboard by following the steps on how to record the keyboard on audacity USB above.
By following these steps, you would be able to record many songs on the application, edit, and export. You can also avoid mistakes by first creating a test recording just to put all the settings in place.