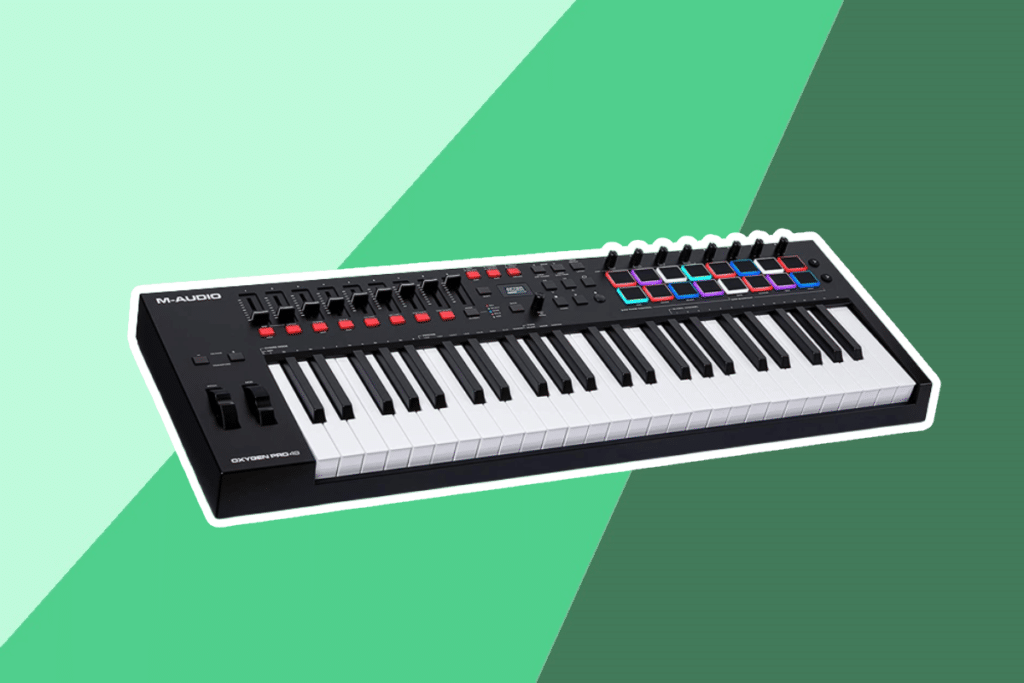
Using a MIDI keyboard can be confusing if you’re new to the world of musical instrument digital interface equipment. Getting it to work and producing sounds isn’t as simple as plugging the keyboard into your computer. A few more steps need to take place! But, while it may seem complex to start with, getting to grips with the technology behind this equipment is quite easy. The MIDI keyboard is an alternative to the acoustic or digital piano. But, when discovering how to use a MIDI keyboard, you’ll realize it’s not your conventional piano! This piece of musical equipment relies on computers and software to produce music. Once the keyboard is connected to your computer or tablet, you need to install the software and set configurations before using it.
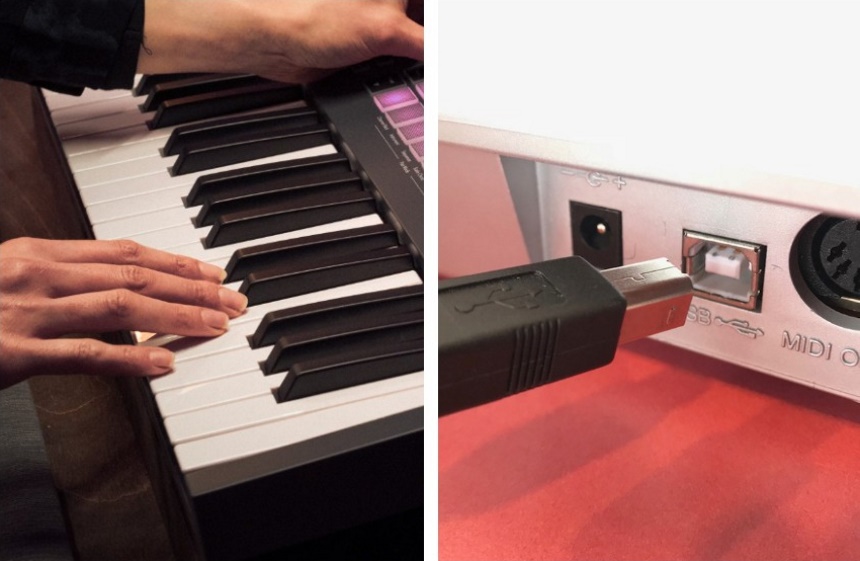
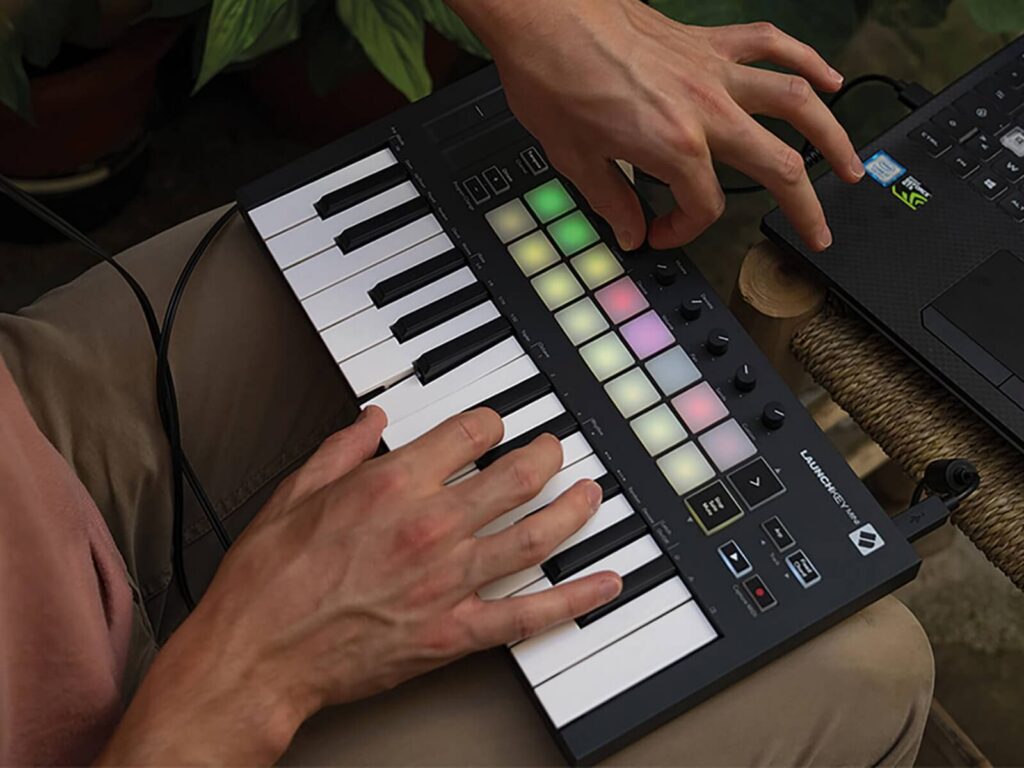
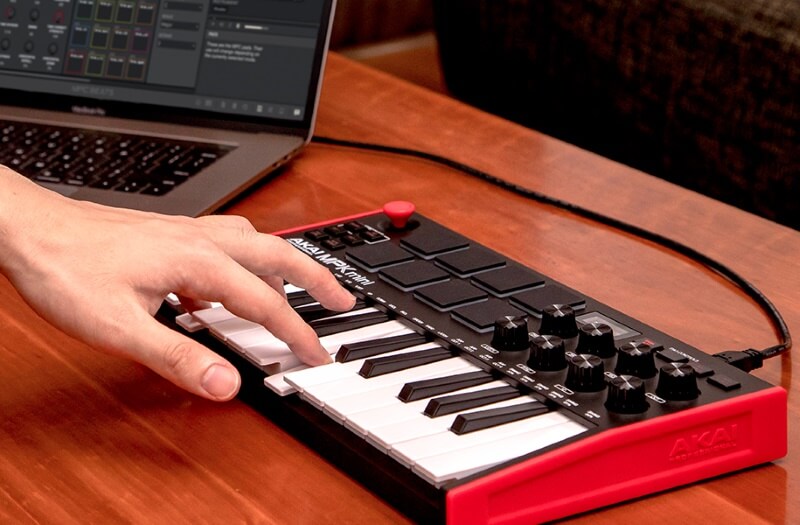
The first step to using a MIDI keyboard is connecting it to your computer or tablet. Depending on the type of keyboard you’re using, there are different ways of connecting them to the computer. If your MIDI controller keyboard is modern, it’s normally USB compliant. This means it has a USB-type B box jack at the back of the keyboard. The USB cable is plugged into this bigger box jack and connected to your computer’s USB port using the USB-type A plug. This connection process is straightforward and simple!
If your MIDI keyboard doesn’t have a USB connection Trusted Source USB Types (A, B & C) & Their Differences The different USB cable are: USB Type A, USB Type B and USB Type C. These types refer to the physical design of the plugs and ports. There are also two different versions of USB: USB 2.0 and USB 3.0, which refer to the functionality of USB connetors. www.scienceabc.com point, it gets a bit more complicated. Also known as MIDI IN and MIDI OUT ports, these connection points are identified by small holes full of pin-size dots inside. However, you won’t find these types of ports on your computer, which may cause you to panic! To get around this dilemma, you need two essential pieces of equipment:
Once you’ve connected your keyboard to your computer, it needs to recognize the MIDI device. This is enabled through the keyboard drivers and allows for messages to be sent and received from the computer. Fortunately, most USB devices have drivers already installed. This saves you the hassle of using either a CD or a downloadable file from the Internet to install the MIDI keyboard drivers. It also means your computer will immediately recognize the keyboard (or MIDI interface if you’re using one) and automatically installs the drivers.
If you receive an instruction from the setup wizard to complete the installation, simply click on the “Next” tab, and the process will be completed. However, if your computer isn’t picking up the MIDI controller keyboard, you can download the keyboard drivers from the hardware provider.
This can be done by typing the brand and model of your keyboard or MIDI interface into the Internet. And if you are just choosing your instrument, we advise you to take a closer look at these best midi controller. Make sure you’re connected to the official hardware provider’s website before downloading the drivers.
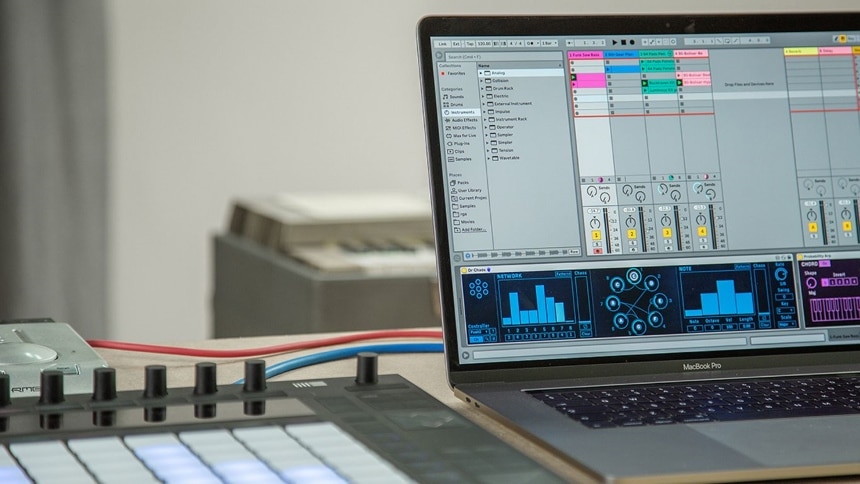
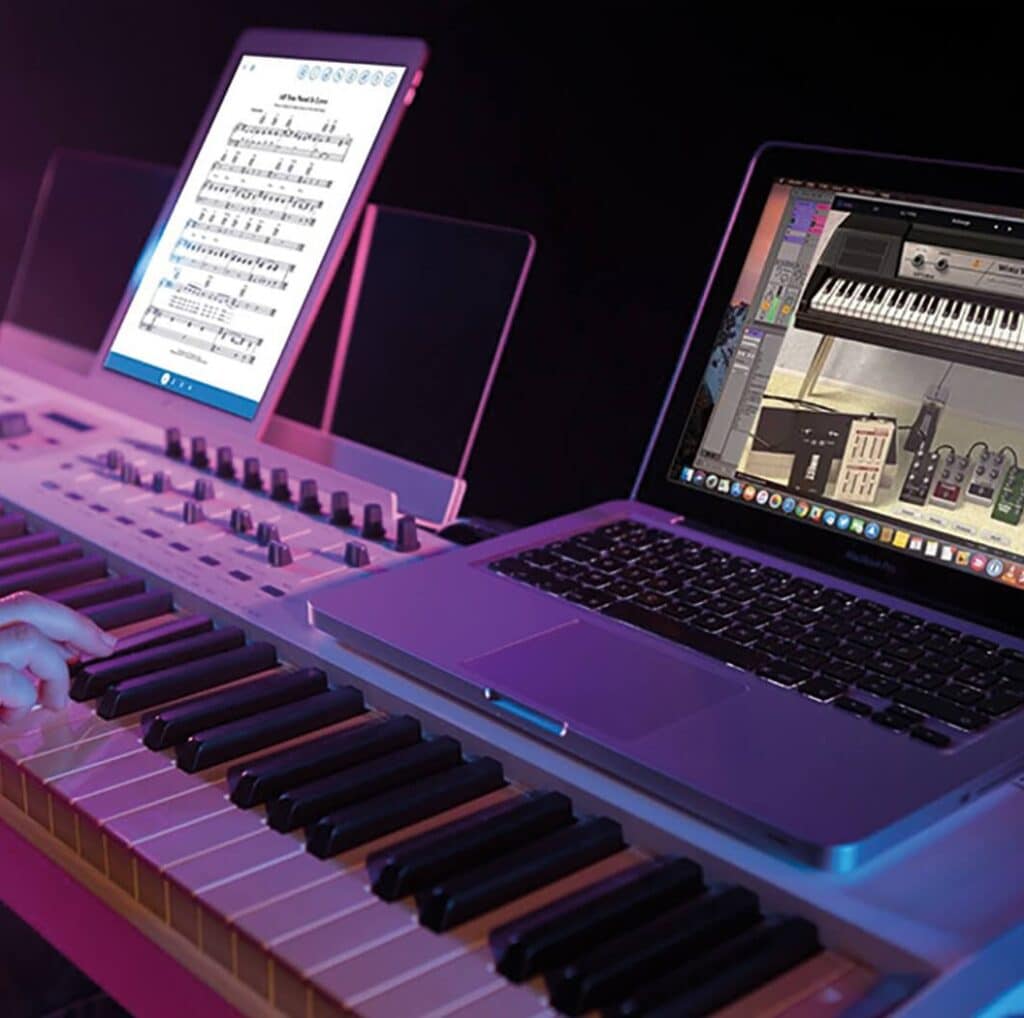
Now that your hardware is set up, you need to install DAW software to produce the sounds. DAW software, also known as Digital Audio Workstation, allows you to record and produce music. This is done by receiving and recording MIDI messages, transforming them into audio, and producing musical sounds through the computer speakers. Digital audio workstations include a full collection of tools for making music from start to end. Being able to make full use of this software program is a skill every modern and virtual musician should acquire! DAWS can be downloaded for free or purchased at various prices depending on the brand and functionality of the software. When deciding which software to use, you’ll be faced with a number of options. It all comes down to personal preference and budget. A popular DAW software option that’s free and works well in LMMS.
LMMS, previously known as Linux MultiMedia Studio, makes producing music easy by synthesizing sounds, combining trackers and sequences, and using a MIDI controller. It’s open-source software Trusted Source Open Source Software FAQ Commercial software (including OSS) that has widespread use often has lower risk, since there are often good reasons for its widespread use. The MITRE study did identify some of many OSS programs that the DoD is already using, and may prove helpful. dodcio.defense.gov and suitable for multi-operating systems such as Linux, Windows, and macOS. It does require a two-channel sound card. It’s worth mentioning Reaper DAW software for its affordable cost while still giving you total control of your musical production. It’s recommended you use one of the best MIDI controllers for Reaper so your keyboard is compatible with this program, giving you the results you want. Other popular MIDI keyboard programs are more expensive but worth exploring if you’re serious about investing in this type of musical instrument digital interface:
When looking and choosing the best 88-key MIDI controllers, find one that’s easy to connect and program, so you’re not left regretting you’ve made the wrong choice! Many keyboard controller brands include their own software, saving you the expense of paying for a DAW program separately.
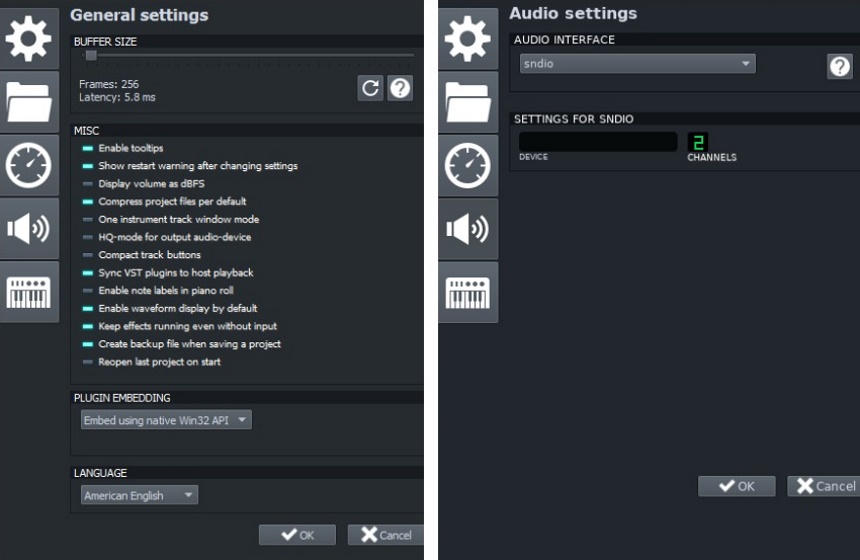
It’s essential to check that audio can be sent to your computer speakers once you’ve installed your software. This will automatically happen if the DAW is configured to do so. However, if it isn’t, you’ll need to follow some steps to configure your computer speakers.
The process entails selecting your computer’s sound or audio card. This supplies the input and output of audio signals to and from your computer using a program, in this case, the DAW which routes sounds to the speakers.
While menus may differ slightly between each DAW, the concept is the same. You’re basically selecting the installed hardware as your audio output. Once you’ve successfully completed the configuration of the audio output, you can use the following steps to test your speakers:
If you’re using a laptop, the sounds won’t be as good on the speakers. In this case, consider using headphones or using a good-quality sound system. Please note that if you’re using an audio interface that is connected to your computer, select this instead of your PC’s sound card. Different software programs vary slightly when configuring computer speakers, so let’s check them out.
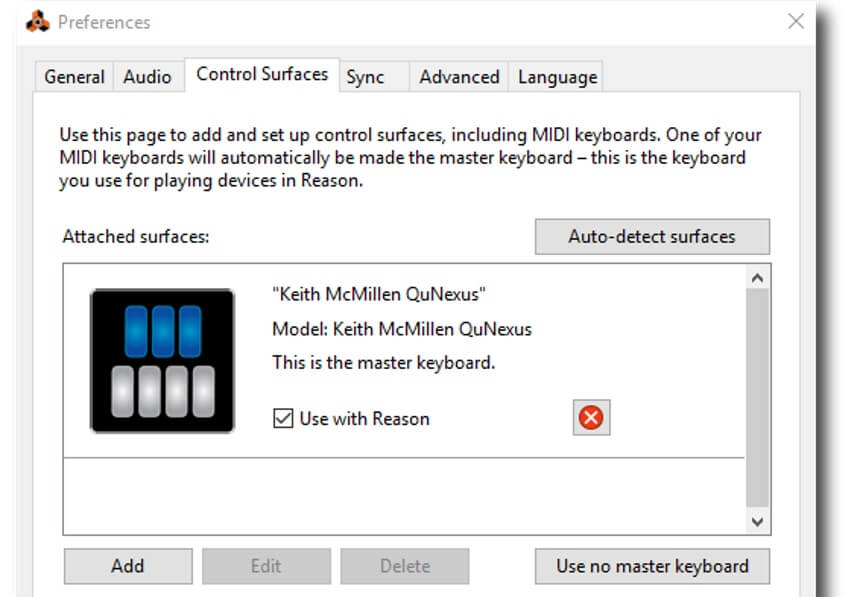
 The following steps will help you configure your computer speakers with this program:
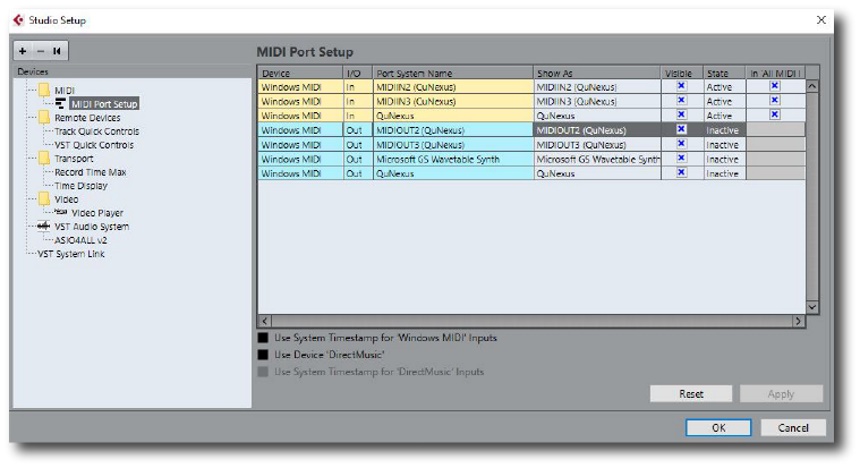
 Use these steps to configure your computer speakers with this workstation:
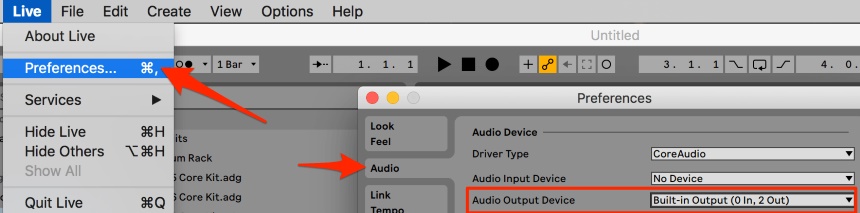
When configuring your computer speakers, use the following steps:
 Follow these steps when configuring your computer speakers:
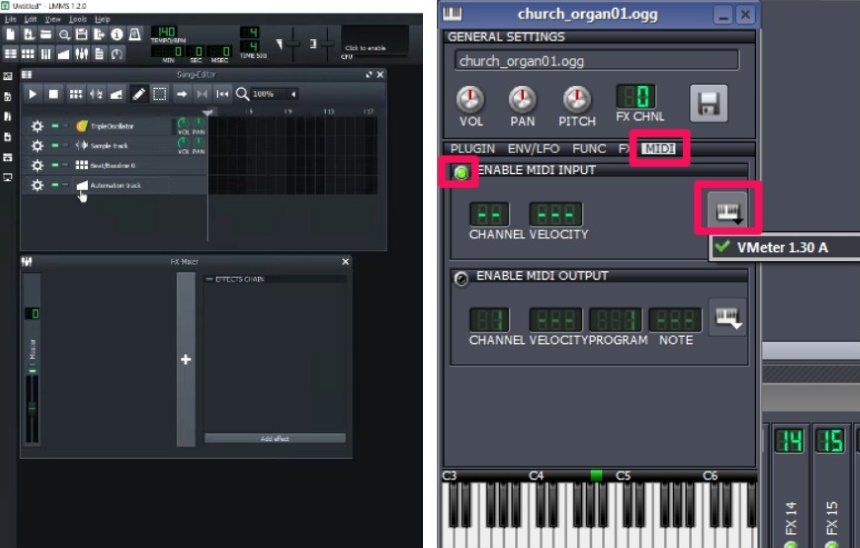
 These steps will help you configure your computer speakers when using this workstation:
A quick tip! When using an Ableton controller keyboard, it comes with its brand’s DAW and instructions on how to configure the audio settings.
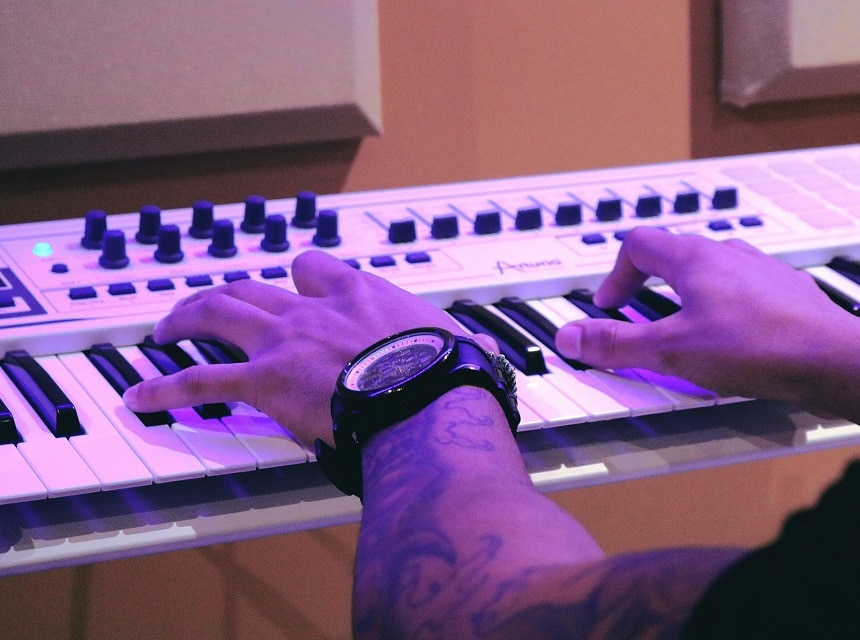
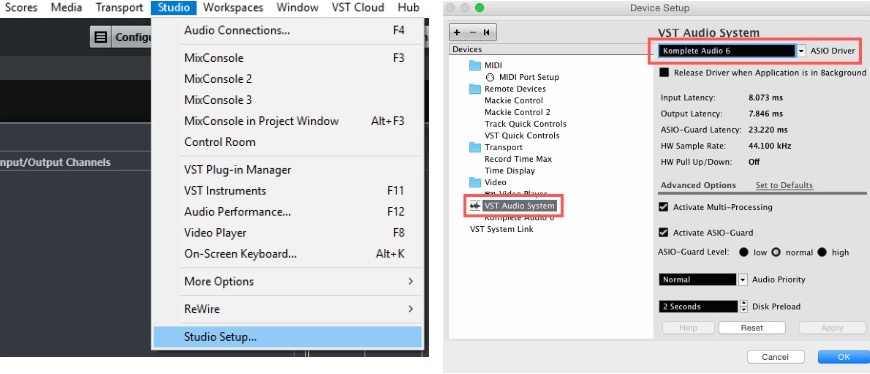
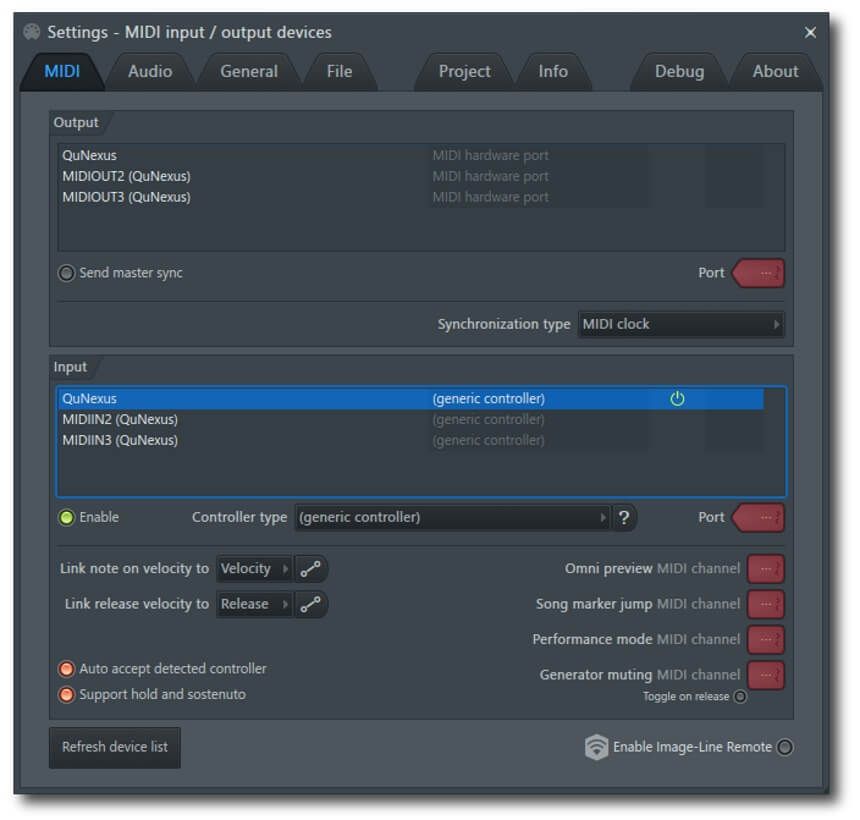
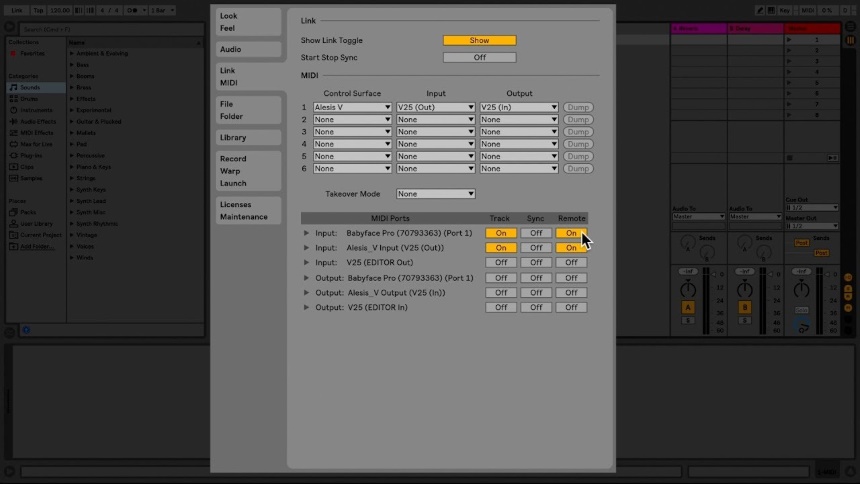
When configuring the computer speakers, you were using the output of the DAW program. Before actually playing the MIDI keyboard, you need to now configure it using the DAW input option. It’s important you’re using a laptop or desktop running macOS or 64-bits Windows 7. Some DAWs can be used on an iPad. Once again, depending on your installed DAW software, the input steps will differ slightly. However, the basics for configuring the MIDI keyboard follow a similar process and include:
Let’s see how this process works for each DAW software mentioned in this article. The steps are simple so follow them when configuring your MIDI device using your preferred software.
Some of the best Ableton controllers use various software versions, including the popular Ableton Live, which makes it easy for you to control your tracks.
Using a MIDI controller keyboard is a smart and fun way of controlling your musical tracks. It gives you more versatility compared to a digital piano, allowing you to assign different instruments. To use one, you need a computer and a Digital Audio Workstation. There are a number of different software options, so find one that best suits your needs when using a MIDI device. While the thought of using technology can seem intimidating, once you’re connected to your computer, and you’ve mastered the configurations, you’re good to go! Select your MIDI controller, pick your preferred workstation, and get started. There’s no need to stress about how to use a MIDI keyboard when following our pointers in this article. What are you waiting for? Follow the basics, get connected, and start making music using your computer!