Did you know that learning how to build a recording studio at home can save you plenty of money while giving you a safe space and more flexibility to practice and explore your creativity?
We would be lying if we said building a DIY studio would be a quick task; it takes a fair amount of time and effort but it makes a worthwhile investment with multiple benefits. You can record at any time and for as long as you wish since you are not being charged by the hour. You will not be limited by the distant locations of professional studios or unfavorable weather conditions. You can use your favorite décor and add items that you personally find inspirational in stimulating your creativity.
In this article, you will find all the information you need to assemble the equipment and set up your own recording studio.
Before you can build a soundproof recording studio, there are a number of things you should consider to create a fun and creative space that will allow you to pursue your passion at home.
How much does it cost to build a professional recording studio? Budget is obviously the first thing you need to keep in mind when planning for a DIY studio. Depending on your budget, you might decide to buy the basic things need first and then add more tools over time. Some of the key equipment you will need to start you off are microphones, studio monitors, studio headphones, audio interface, and DAW and plugins. Amplifiers, guitars and keyboards are also considered essential for a starter studio.
You will need more microphones and an audio interface with more inputs if you will be focusing on recording multitracks and carrying out other professional undertakings in your home music studio.
You can save money by buying second-hand equipment as long as they are still functional, efficient and of good quality.
After budget, the second factor to consider before you build a home recording studio is a suitable location that will align with your studio goals. You will likely be converting a room that already exists, such as a bedroom or living room, into a home music studio. Interior rooms work best, especially for individuals who live next to a busy highway. They are also better than exterior rooms at regulating temperature and humidity in areas that are prone to fluctuating climate.
Choose a location that is accessible and convenient to ensure that you will be spending time in a place you enjoy. For instance, there are a number of people who cannot imagine being interested in how to build a recording studio in your basement because basements tend to be cramped, stuffy and boring. However, it can be a good location if it is has proper ventilation Trusted Source Concepts and types of ventilation - Natural Ventilation for Infection Control in Health-Care Settings - NCBI Bookshelf Ventilation moves outdoor air into a building or a room, and distributes the air within the building or room. The general purpose of ventilation in buildings is to provide healthy air for breathing by both diluting the pollutants originating in the building and removing the pollutants from it (Etheridge & Sandberg, 1996; Awbi, 2003). www.ncbi.nlm.nih.gov .
The ideal room should be quiet and well-insulated with a carpeted floor and a solid door to prevent outside noise and unwanted echo. Some musicians recommend hardwood, tiled or concrete floors for acoustics since carpeted floors might not be able to absorb low frequency sounds.
The space for your DIY home recording studio should also be either windowless or with few windows, feature high ceilings and be large enough to accommodate your studio gear and any live performers that would be recording simultaneously. If possible, you should also get a room with irregular or varied surfaces to disperse sound. You can make an irregular surface with additional furniture in the room.
When choosing the best location to build a home recording studio for voice overs, remember to choose a room that has sufficient power outlets to plug all your music hardware.
Lastly, we advise you to check whether your local authority has any building requirements and sound limitations.
Whether you are researching how to build to build a small recording studio or a professional recording studio at home, the purpose of the studio will determine the necessary budget and amount of space as well as the types and number of recording equipment you will need You can set up a DIY home recording studio for home demos or professional mixing and mastering, or both. You could also use it for solo compositions or for band records.
Once you have established your budget, a suitable location and how you will be using the space, we can now proceed with more details on how to make a recording studio in your room. We will discuss how to set up the room and the equipment and share some important recording tips that will give you optimal results.
In our guide on how to build a home recording studio for beginners, we have explained why it is important to establish how you will be using the studio before you set it up. It determines the room size that will accommodate all your music gear. For instance, you might need a room big enough to house amps and drum kits, too, if you will also be recording multiple live performers as opposed to just voiceover work and simple beat production.
We recommend picking a space that is larger than you think you need so you can have room for any instruments and equipment you might add in future.
Leaking sound is a leading cause of concern when building a home recording studio. Busy households and rooms that are poorly insulated with hollow doors and thin walls are common causes of sound bleeding in and out of the room.
In this section, we will explain how to build a soundproof recording studio using various strategies.
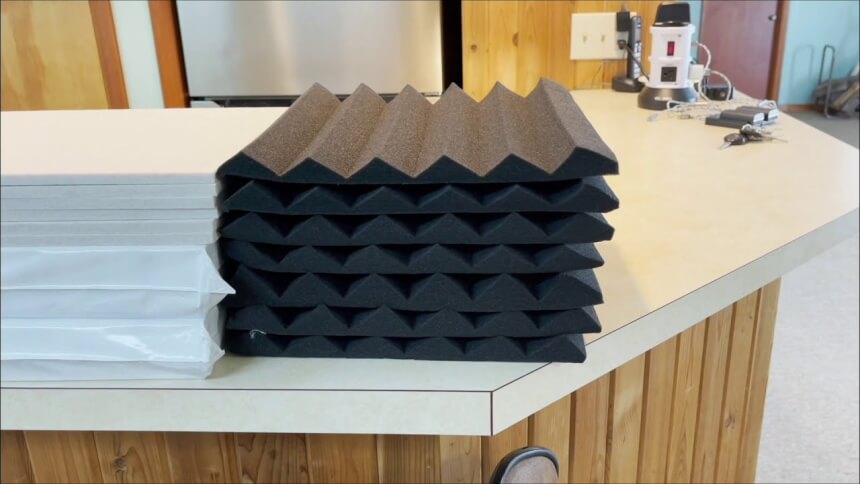
To deaden undesirable echoes and the reverberating sound that affects sound integrity, you should give your home music studio an acoustic treatment. Fabric, egg cartons and lower grade foam are cheap soundproofing options. You can add a bit more for acoustic foam sound absorbers or insulate the corners with bass traps.
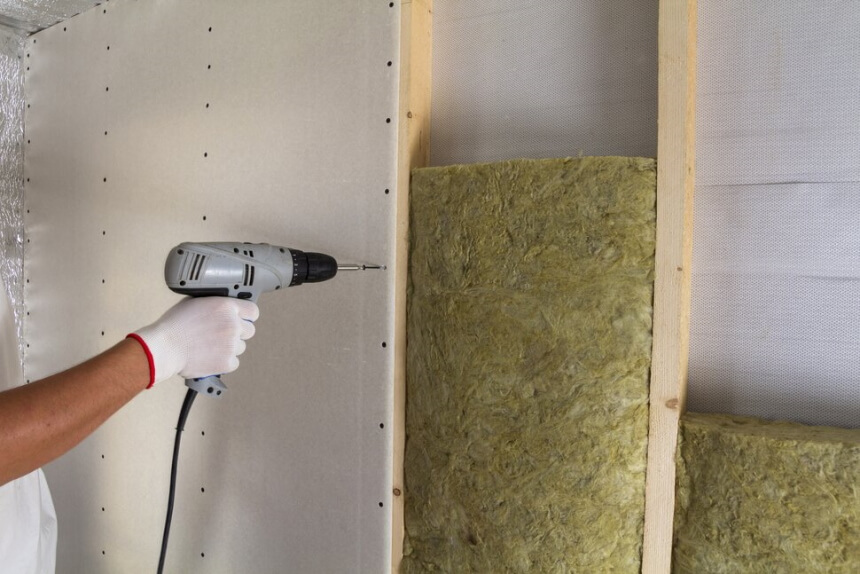
Sealing the cracks of your DIY music studio is one way you can avoid your neighbors calling the cops on you for disruptive noise Trusted Source Summary of the Noise Control Act | US EPA The Noise Control Act established a national policy to promote an environment for all Americans free from noise that jeopardizes their health and welfare. Primary responsibility for control of noise rests with State and local governments. www.epa.gov . You could install a new, solid door or use affordable sealing strips made of materials like foam, rubber or vinyl. These strips are available at most hardware stores and you can find rolls that can seal multiple doors with plenty to spare. Mineral wool is also a suitable installation for the walls of a small recording studio.
You will require a dividing wall if your studio will have a live and a control room, unless the space you picked already has two divided rooms. You could also convert a walk-in closet into a vocal booth and use the rest of the room as a control room.
Musicians perform in the live room, booths are where vocalists have clean takes for acoustics, and the control room is where you do the recording, editing and mixing.
To build the wall, install a stud frame and then sound proof with foam and rubber before plastering and painting the wall. The same materials can be used to sound proof doors and some budding musicians use silicone gel to insulate windows for a DIY recording booth. Better still, you should get this Primacoustic London 10 Acoustic Room Kit made of Broadway acoustic panels with all the mounting hardware included to cover rooms up to 120 square feet.
Elevate the floor of your DIY home recording studio by placing wood on foam blocks and level it by trimming some of the foam blocks to dampen vibrations.
There are several noise dampening foams that you can buy in different sizes, thicknesses and patterns.
Adding more objects such as furniture, pillows or beanbags to the room will also reduce the echo effect and diffuse the sound. A carpet works, too, although it is more suitable at softening high frequency sounds. When choosing a carpet for your home studio, we recommend one with a brighter color that will prevent you from tripping over the dark cables.
The other important step on how to build a professional recording studio at home is to ensure that there is good ventilation. You could make an acoustic box for ventilation. Build a box with medium density fiberboard (MDF) and install an S-shaped duct before padding the rest of the box with acoustic foam.
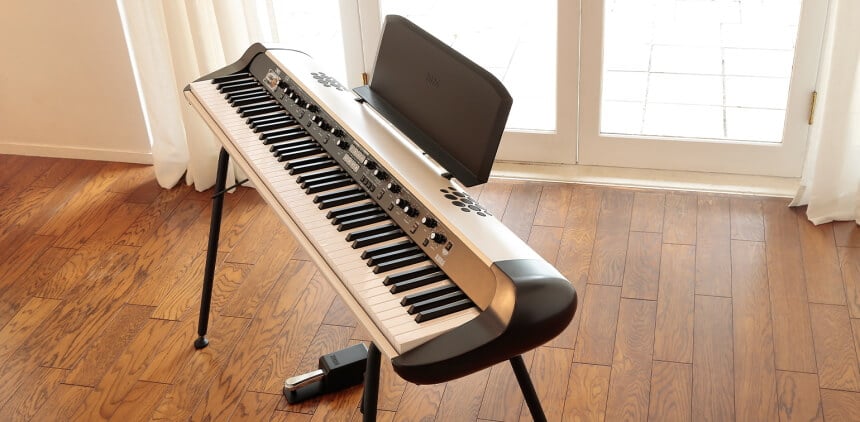
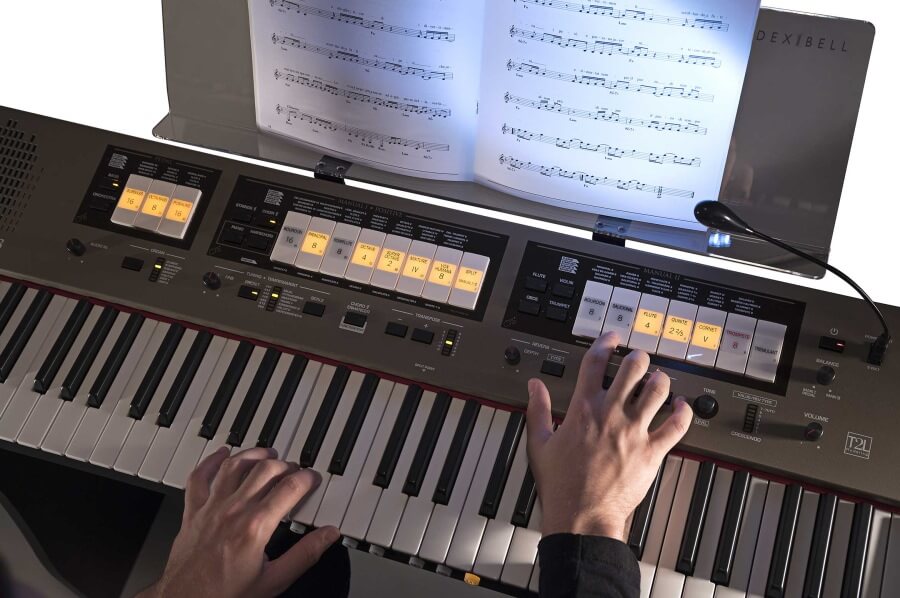
Now, it’s time to set up the working environment with a table for the equipment and space for guitars and keyboards, among other instruments. Some of the best Roland keyboards are designed as synthesizers with a workstation.
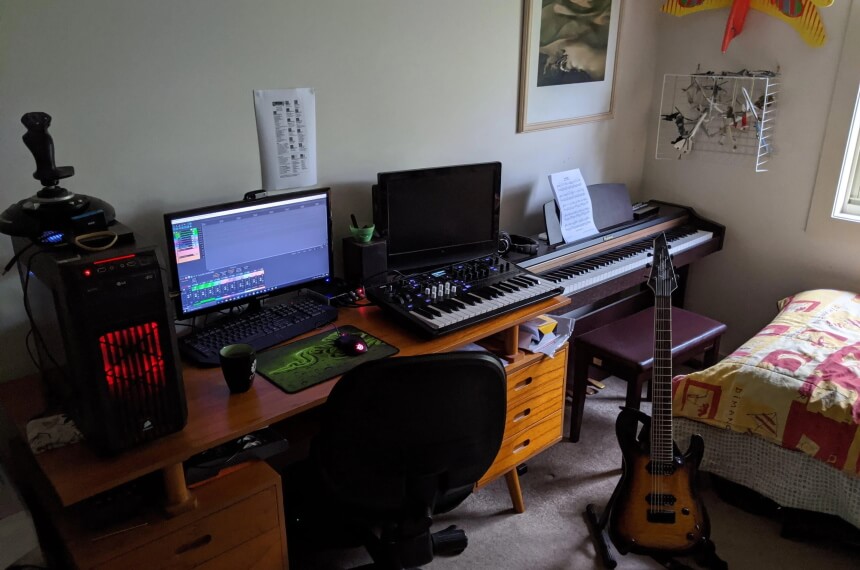
Clear the space of clutter so you can have enough room for the necessary recording gear and space to walk around freely. You can use hooks and hangers to hang some of the instruments and save space.
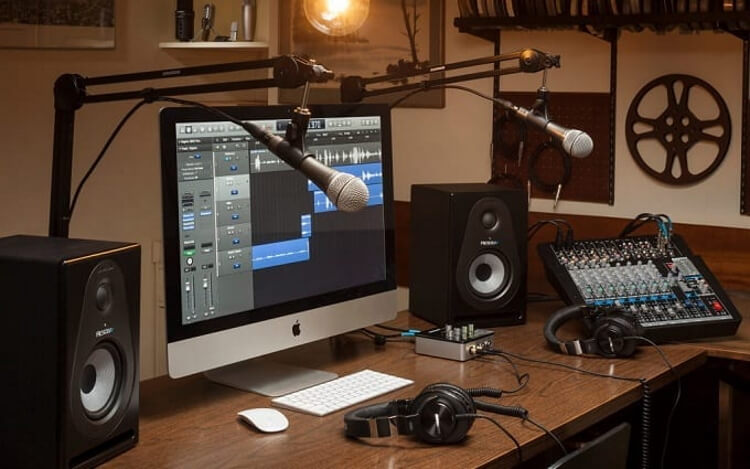
Next, set up the table where you can place the studio monitors and keyboards in an optimal position and then add a comfortable chair to your workstation to make a recording studio in your room.
The set up will vary according to the size of the studio and the type and number of equipment you have.
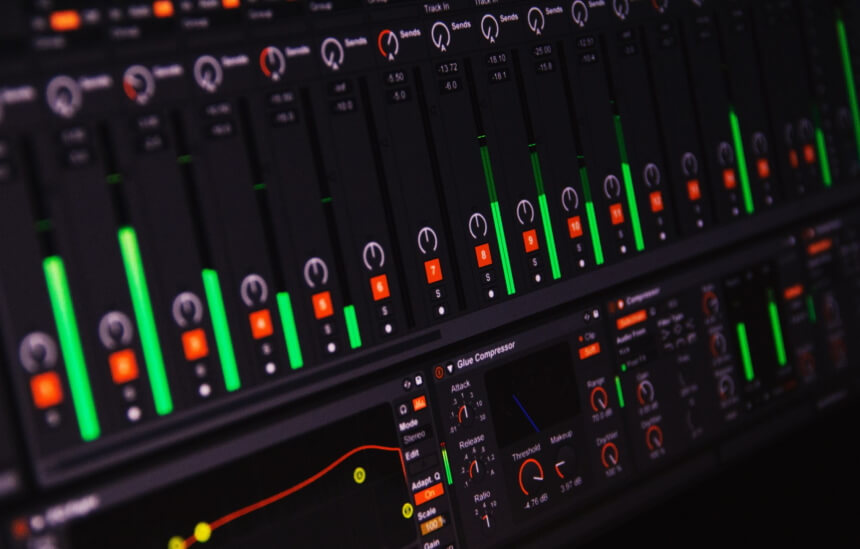
Digital Audio Workstation (DAW) is recording software and it is available in several free and paid versions. You should confirm that the software is user-friendly and compatible with your instruments and hardware. Recording software with more features and greater flexibility will cost more.
Popular DAW software includes Ableton Live, FL Studio and Pro Tools. Ableton Live which is available as a one-time purchase of approximately $360 is suitable for experimental and live performances. FL Studio is ideal for electronic genres. Pro Tools which is the most popular and has a more flexible design and interface is great at mixing, with plug-ins for reverb and gain scheduling, among others. Pro Tools operates as a subscription service with monthly or annual subscriptions and packages with varied pricing and features. They include the basic Pro Tools M-powered, Pro Tools LE with more features and Pro Tools HD which is a staple at commercial studios. The software creates high quality recordings of diverse genres, including EDM, metal and classical music. Pro Tools has an interface and functionality that is similar to GarageBand which is free on Mac laptops and is a great option for beginners. There is also Sonar Cakewalk for Windows and Audacity which works with Windows and Linux systems.
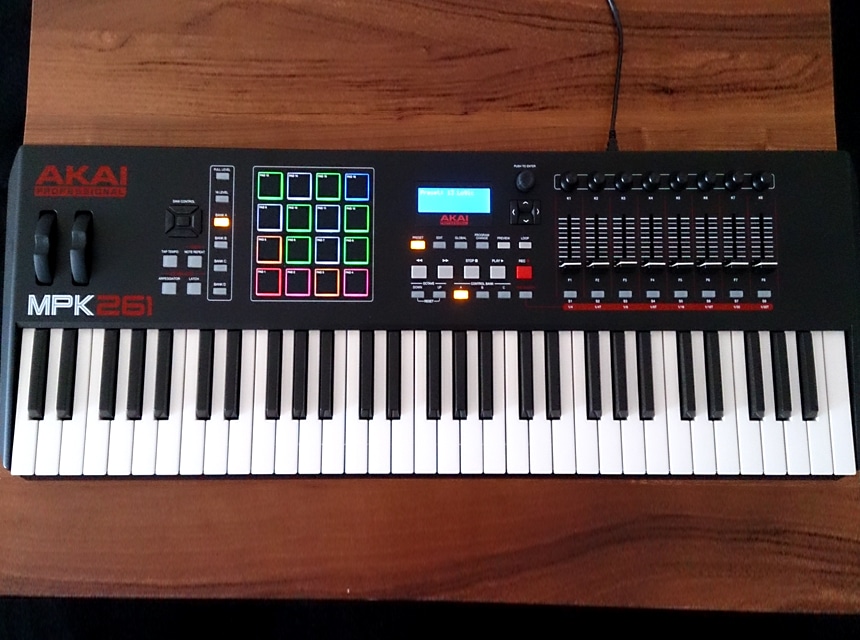
Other DAW alternatives are Reason, Logic Pro X, Digital performer, and Cubase. You can find the best MIDI controller for Reason that also integrates well with other top DAWs.
Digital plug-in tools are available as a separate package or included with the recording software. For instance, autotune is offered as a monthly subscription.

Headphones and monitors are always included when calculating how much it costs to build a professional recording studio because they are essential for mixing and mastering music. However, they are also useful equipment for a DIY home recording studio because they help you to accurately assess sound quality.
The main types of headphones are closed back headphones for recording and open back headphones for mixing. There is a third hybrid type referred to as semi-open headphones for both mixing and recording.
Closed back headphones: They provide good sound isolation to prevent bleeding when you record vocals over a backing track. However, they also tend to lower the sound quality with false low frequencies resulting from the pressure trapped in the headphone as it isolates sound. Besides that, these headphones are ideal for vocal and acoustic recording and they work best with a USB microphone.
Open back headphones: Unlike closed back headphones that mainly focus on sound isolation, these headphones optimizes sound quality which is a priority for precise balance of frequencies when mixing. There are open back headphones that are just as good as closed back headphones at excellent sound isolation but they cost a lot.
Semi-open headphones: This type of headphones provides good frequency balance and decent isolation at an affordable cost. It is a great choice if your budget can only allow you one set of headphones for both recording and mixing.
One monitor is enough for simple voiceovers but professional musicians often tend to prefer two monitors that they can use simultaneously for DAW and plugins. A large monitor is legible when switching between different windows and it reduces eye strain when recording for long hours. Yamaha HS8 boasts of high performance drivers and magnets that optimize a smooth, accurate response in any room.
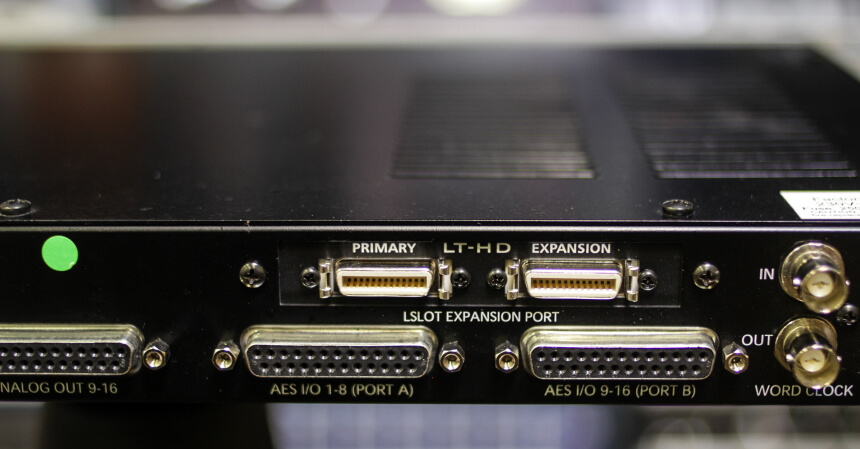
An audio interface refers to a digital audio converter that converts analog signals to digital signals compatible with your computer, and digital signals to analog signals on the monitor.
An audio interface allows you to plug microphones directly into the Digital Audio Workstation, and it is essential when you build a home recording studio for voice overs.
There are inexpensive options such as ESI’s Julia with at least two XLR jacks for basic audio tasks and premium ones like Lynx and Audiofire with onboard recording and several input and output ports to accommodate more than two microphones at a time for multiple simultaneous recordings and for professional mixing and mastering.
The most common TRS cable size for balanced audio equipment is ¼”. These cables reduce noise during signal transmission between two points.
When you make a recording studio in your room, one of the minor issues you will come across is how to manage the numerous cables running along the floor and posing a tripping hazard. You can use Velcro, masking tape or zip ties to tie up a group of cables into a single strand along the edge of your studio desk and then down to the floor. This will reduce clatter and keep your DIY music studio neat.
If you have the money for it, consider having the following types of microphones:
Condenser microphones: They are ideal for high frequency sounds and recording detailed sound and they are compatible with nearly any instrument. The microphones consist of large and small diaphragms and they work by converting acoustic to electrical energy. The high clarity of microphones like Neumann TLM 102 makes them the standard microphones for voice actors and acoustic guitars. Phantom power switch or button powers the condenser microphone when using the recording interface.
Dynamic microphones: They are suitable for vocals and instruments like guitar amps and drums with high output because these microphones can accommodate high volumes without distortion. The microphones do not require a preamplifier to supply power for them to operate since you can just plug them into an interface.
Ribbon microphones: They are great at sound reproduction of acoustic guitars, brass instruments and orchestral instruments. However, these microphones are fragile and expensive.
You will also find microphones with USB outputs to plug them directly into a computer.
Some microphones require a preamplifier that connects them to a digital audio converter to add warmth to the sound of recorded vocals.
After building a soundproof recording studio that protects the sound quality of your work and gives you the confidence to sing your heart out, you should now enjoy the fruits of your labor and start performing or recreating your favorite classics with the best synthesizers for beginners that are compact and available with multiple presets for various genres.
You could even invite a friend or two for an impromptu karaoke session to share in your celebration.
Some musicians never realize the convenience provided by DIY home recording studios until they build one for themselves and then they start wondering how they ever went through life without one.
The following are brief answers to questions regarding studios for voiceovers, professional gigs or music demos made in basement.
Before you can calculate the cost, you must identify what you need to build a recording studio. A professional recording studio with a great soundproof design and high-quality instruments and equipment will generally cost at least $10,000 and the cost can go up to $20,000 to build a professional recording studio at home if you buy new products and additional instruments. Keep in mind that a professional studio will also be expectedly bigger, and this drives up the cost of the room and renovations.
If you are wondering how to build a home recording studio for voice overs and whether it would be different from a DIY music studio meant for other types of recordings, then you will be relieved to know that the process is the same. The steps we outlined in this article still apply. As far as cost, a recording studio for voiceovers might require cheaper instruments since there would be no complicated mixing and mastering but be ready to spend good money on a microphone.
You can use almost the same steps we have detailed to build a recording studio in your basement but you should put more effort into soundproof sealing, moisture-proofing and ventilation so your recording equipment will not get damp or flooded. Use the tips we have given to help you with renovating your basement into a home music studio.
When building a home studio, you must consider the type, scope and complexity of the recordings you intend to do. This will also help you to choose the appropriate equipment and instruments and the right size for the studio. Besides that, the information will enable you to come up with a reasonable budget. Ideally, you should choose a quiet location that is well-insulated so you won’t have to spend a lot of time and effort in soundproofing the DIY music studio. We have provided affordable alternatives for those who have been planning how to build a recording studio but have been hesitant about the overall cost. Have fun designing the music studio and experimenting with various sounds and recording styles from the comfort of your home.